

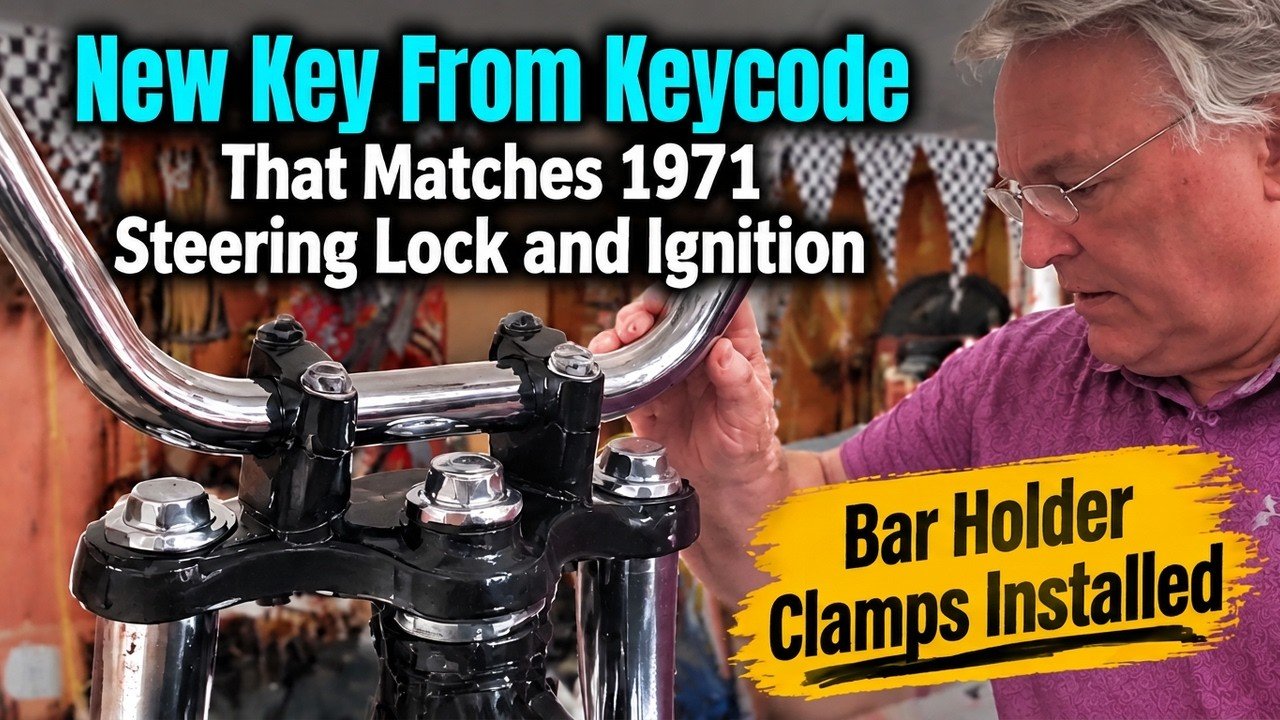
The key to this CL175 has been missing for as long as anyone can remember. No key means no steering lock and no ignition. This episode covers how we solved that for less than you might think, and then we mount the handlebars.
How the CL175 Steering Lock Works
The steering lock is a lock and tab welded to the lower triple clamp. Turn the bars, unlock it, push it in, and twist. The key comes out and the front end is locked, so anyone trying to roll the bike away can only go in circles.
The Key Code Solution
Here is what saved us. The original steering lock and the original ignition switch share the same key code, and that code is stamped on the lock. I took both to a locksmith. He typed the year, make, model, and key code into his computer, put a blank in his machine, and it cut a new key.
The lock is about 50 years old and had some dirt in it, but you can hear it click. And the same key turns the ignition. Lock, ignition, and a working key: money well spent.
Tip: If you have a vintage bike with no key, look for a code stamped on the ignition, the steering lock, or the seat lock before you replace anything. A locksmith with code-cutting software can often cut an original key from it.
Mounting the Handlebar Holders
The handlebar holders bolt into the upper triple clamp with a rubber-damped mount. Each mount is a cylinder that bevels in toward the center, with a cone-shaped piece on top and another flipped upside down on the bottom, held with a washer and nut. That rubber is there to soak up engine vibration so it does not buzz through the bars.
The original nuts are tired and worn. They sit behind the headlight and will not show much, so they are fine for now, but I may swap in chrome or stainless nuts later where they can be seen.
Handlebar Clamp Tip: Look for the Dots
The upper handlebar clamps have a channel built in to route the speedometer, tachometer, and other cables so they do not tangle in the steering. Each clamp also has a small punched dot on one end.
Install each clamp with the dot facing forward.
Tighten the front bolts all the way down first.
Then tighten the rear bolts.
That sequence seats the clamp correctly and leaves any gap at the back, where it belongs.
Previous: Ep. 3: Steering Head Bearings and Upper Triple Clamp on a 1971 Honda CL175
Next: Ep. 5: The Rear Swing Arm Was No Joke (1971 Honda CL175 Restoration)


