

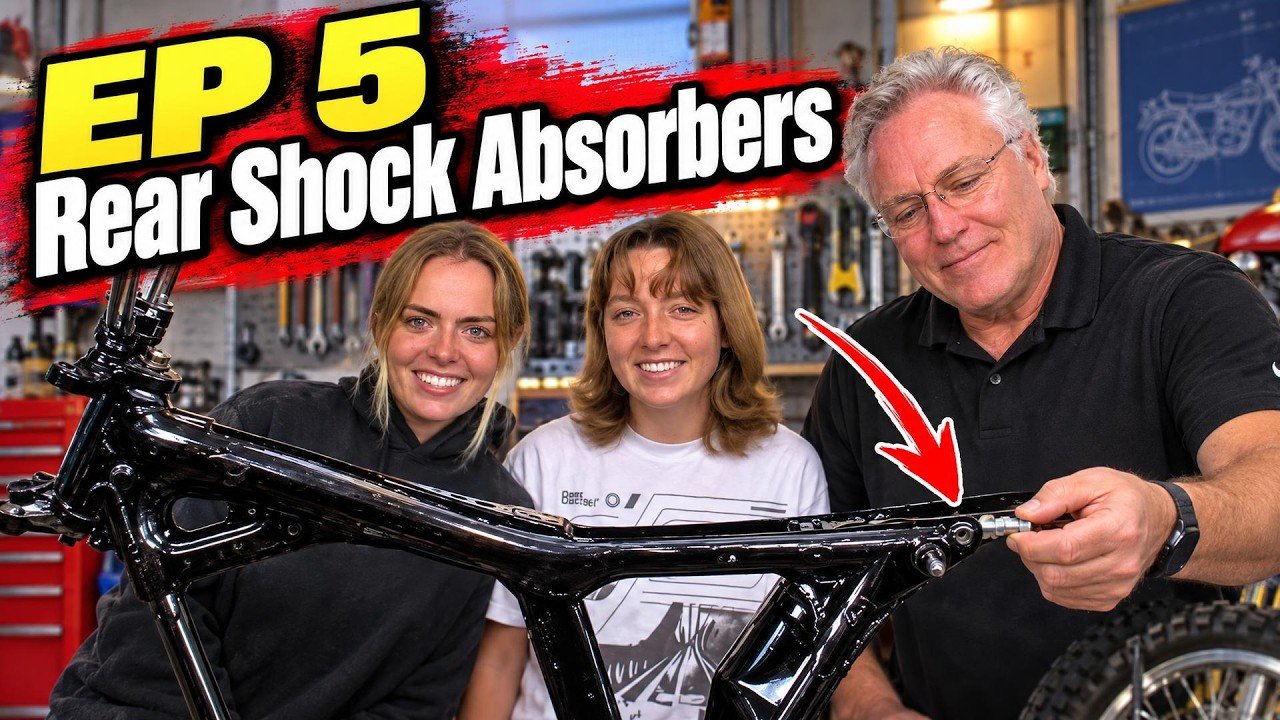
This is the first full Wrenching with Steve episode. My daughters Audrey and Liberty joined me in the garage to put the rear shocks on, along with Arlo, our dog and official mascot. It took most of an hour, it involved a hacksaw, and it is the most fun I have had on this project so far.
Old Shocks vs. New Shocks
The replacement shocks are an upgrade over the originals in three ways:
Heavier upper mount. The top collar is noticeably beefier.
Slightly longer. Just a hair over the original length.
Bigger lower bolt. The originals used an 8 mm bolt to attach to the swing arm. The new ones use 10 mm.
That last change matters. The old collars and bushings in the swing arm were sized for 8 mm, so they had to come out and the new 10 mm collars and bushings had to go in.
Step 1: Save the Upper Rubber Bushings
The rubber bushings from the old shocks were still good on the inside, even where the outside was weathered, and they fit the new shocks. The girls worked them loose with a flat screwdriver: break the bond around the edge, then push the bushing out in one piece.
Step 2: Pulling the Old Swing Arm Collars
The old metal collars in the swing arm were stuck, and painted over for good measure. Hammering on them got us nowhere but a pile of black dust.
What worked was a homemade puller. Run a bolt through the collar, add a couple of washers on the far side that are bigger than the collar, and thread a nut on. Hold one end with a screwdriver, turn the other with a wrench, and the bolt slowly draws the collar out. Libby cranked on it until it popped free.
Step 3: Clean the Threads
The swing arm studs are 10 mm with a 1.25 pitch, which is a fine thread, and they were rusty. We cleaned them with a thread-chasing die and a shot of WD-40, working it back and forth a little at a time rather than running it straight down. The acorn nuts got the same treatment with a tap on the inside.
A tip I have given the girls about 30 times: a longer wrench means less effort. Leverage does the work.
Step 4: Clearing Out the Old Rubber
The old rubber bushing material was baked into the swing arm. A DeWalt 20V drill with a bit took out most of it, and a pocket knife carved out the rest. A wire bottle brush would have been ideal, if I had one that fit.
Then we found one more surprise: an inner metal sleeve still in the bore. We cut it with a hacksaw from the inside so it would fold in on itself, then punched it out.
Step 5: Press In the New Bushings
A little Red N Tacky grease on the outside of each new bushing helps it slide in. Fold or pinch the bushing to start it in the bore, then squeeze it the rest of the way with channel lock pliers. One bushing tore partway, which is fine since the collar surrounds it. The new collars went in the same way.
Step 6: Mount the Shocks
Clean side of the bushing faces out.
Washer on the inside, then the shock.
Crown nuts on top, snug but not cranked down. The shock needs a little room to pivot.
The 10 mm bolts at the bottom have locking threads so they will not back out. I plan to add lock nuts for extra safety.
We have rear shocks. The job is not done until the tools are put away, so that is how the episode ends.
Previous: Ep. 5: The Rear Swing Arm Was No Joke (1971 Honda CL175 Restoration)
Next: Coming soon. Subscribe on YouTube at @SteveMillerBlog so you do not miss Episode 7.


