

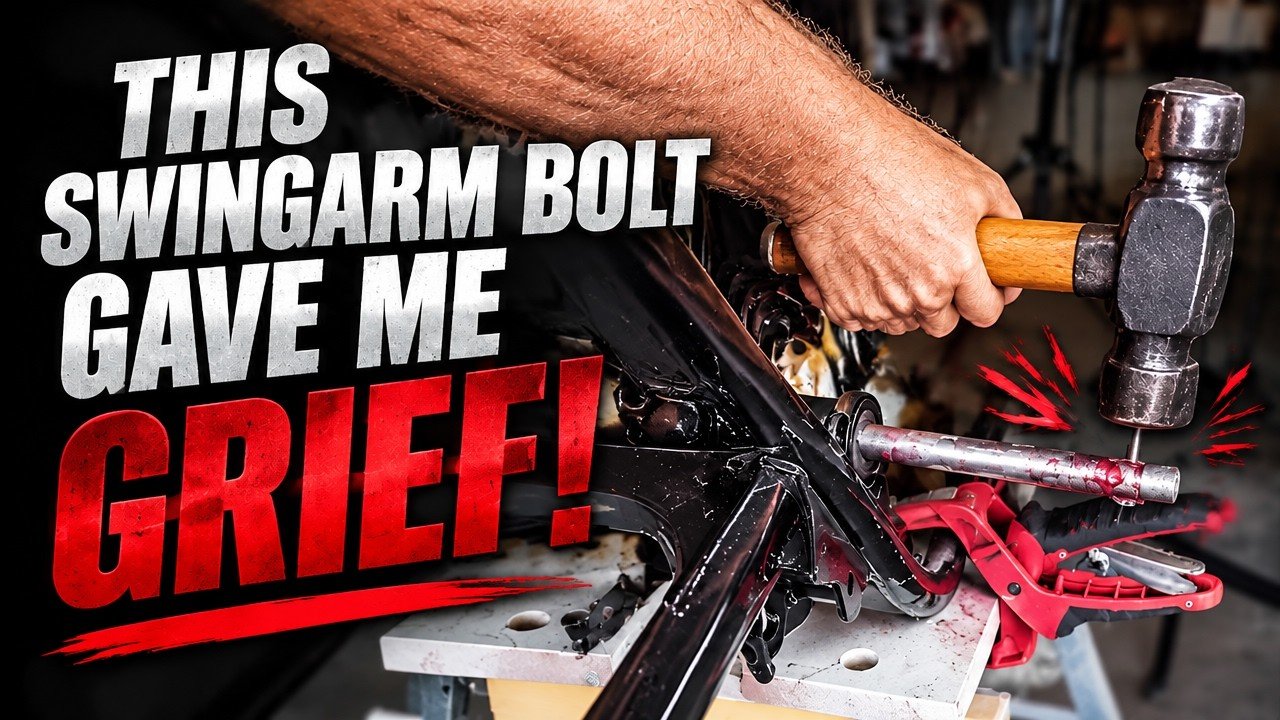
On paper this was a one-bolt job: slide the swing arm pivot bolt through the frame and the swing arm, put a nut on it, done. In reality it took a lot of time and a fair amount of hammer work. Here is how it went and what I would do the same way again.
Prep: Polish and Pack With Grease
I polished up the original pivot bolt and used Lucas Red N Tacky grease, which is rated for a 540°F drop point. That is far more than a swing arm pivot will ever see.
Rather than just smearing grease on the bolt, I filled the pivot tube with grease. As the bolt goes in, it pushes the grease through to the other side, so the whole length of the pivot gets lubricated. I kept grease off the end caps and washers so they would seat clean.
Driving It Through
With a flat washer and end cap on the first side, I started the bolt. It did not want to go. The video is mostly me and a hammer, set to music, persuading it the rest of the way. If yours fights you, keep the alignment straight, keep it greased, and be patient rather than forcing it at an angle.
When the bolt finally came out the far side, most of the grease I had packed in was still inside the housing. That is exactly what you want to see.
Closing It Up
Bushing cover on the far side
Flat washer
Locking nut, held with a crescent wrench on the bolt head while I ran the nut down with the driver
There was still a visible gap, so I gave it a little more to close it up. There is plenty of thread under the lock nut, the spacers and washers are in place, and the swing arm is on.
Up Next
Rear shocks. That one turned into a family project, and it is a long one.
Previous: Ep. 4: Lost Key? How We Got a New Key for the Steering Lock and Ignition on a 1971 Honda CL175
Next: Ep. 6: Installing Upgraded Rear Shocks on a 1971 Honda CL175 (With My Daughters)


