

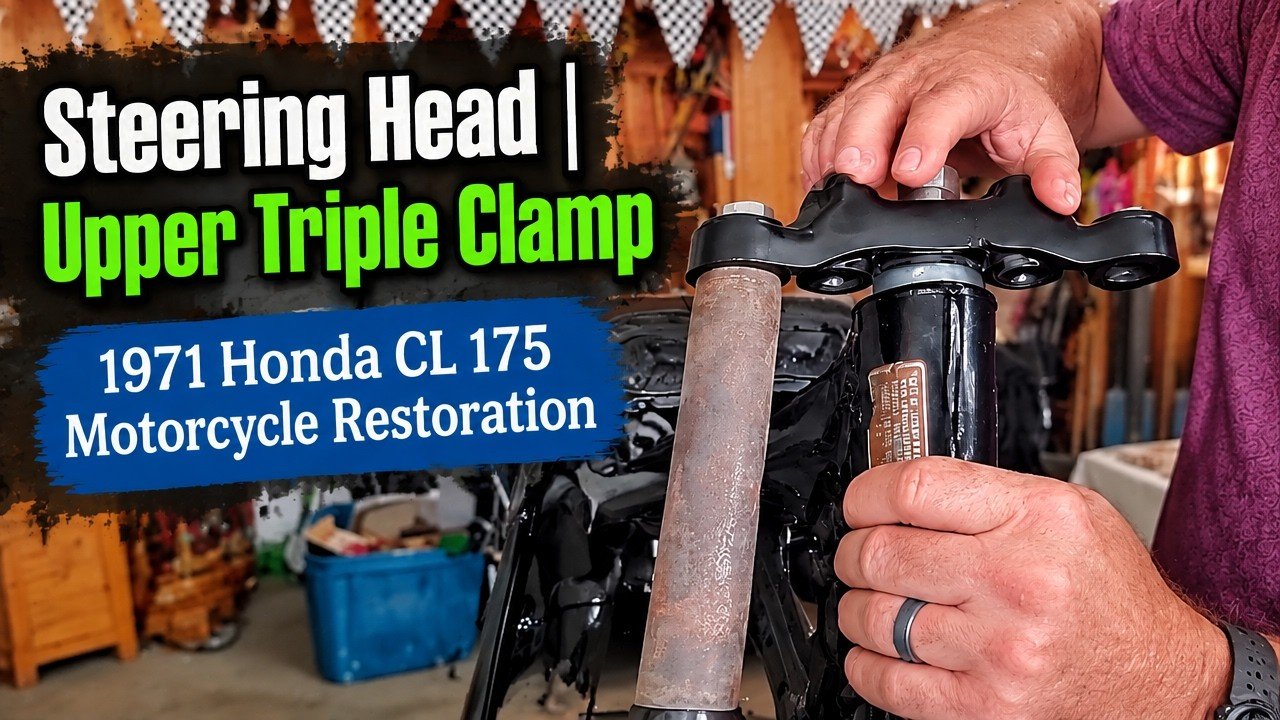
This episode starts at the front of the bike, and my daughter Libby is in the garage with me. We are rebuilding the steering head and installing the upper triple clamp, and we ran into a problem worth knowing about if you are doing the same upgrade.
Out With the Loose Balls, In With Tapered Rollers
From the factory, the CL175 steering head used steel races with loose ball bearings. There is an upgrade kit that replaces them with tapered roller bearings pressed into the frame. They last longer and hold adjustment better, so that is the route we took. The upper race was already pressed in, so we set the bearing in place and tapped the steering stem lightly with a hammer until the threads caught.
The Problem: Out of Threads Before It Was Tight
Here is the catch with the upgrade. The pressed-in roller bearings sit a little shorter than the original races and balls. When I tightened the stem nut, it ran out of threads before the bearings were snug. The steering stem still had up-and-down play, and that is not acceptable on the front end of a motorcycle.
The Fix: Three 1.5 mm Shims
The solution was shims. I ordered a pack of ten 1.5 mm shims for around $20, sized to match both the inner and outer ring of the bearing so there is no play. Three of them gave the nut enough thread to pull the bearings snug. Cheap parts, but they make a world of difference in how the steering works. It may need an adjustment down the road, but right now it is solid.
Libby Demonstrates the Steering Lock
This bike has a steering lock built into the lower clamp, and we now have a working key for it (the full key story is in Episode 4). Libby shows how it works: turn the bars, turn the key, and the lock pin keeps the front end from turning. A thief would be stuck riding in circles.
Installing the Upper Triple Clamp
The upper triple clamp is cast aluminum, and the original finish was worn down to bare metal, so I painted it before installing. A few tips from this step:
Slide a fork tube in before tightening. The forks help hold the clamp in alignment.
The stem has fine threads, and the first few are sparse. I tapped the clamp down lightly with a socket to expose a few more good threads so the nut could start clean.
Install the washer, then the upper nut, and snug it with a crescent wrench. Only snug. Too tight and the bearings start to bind.
The fork cap nut doubles as the oil seal for filling the fork, so make sure the seal is in place.
The result: no up-and-down play, smooth motion side to side, and when I let go of the bars, they move freely. That is the feel you want.
The Forks Need Work
The fork tubes have pits, grooves, and rust, so they will come back out before the bike is finished. One shop quoted $260 per fork to recondition them, $520 for the pair, and I am comparing that against replacements. If you know a more affordable way to recondition CL175 fork tubes, please leave it in the YouTube comments.
Previous: Ep. 2: What’s on the Table? Every Part of a 1971 Honda CL175 Restoration
Next: Ep. 4: Lost Key? How We Got a New Key for the Steering Lock and Ignition on a 1971 Honda CL175


